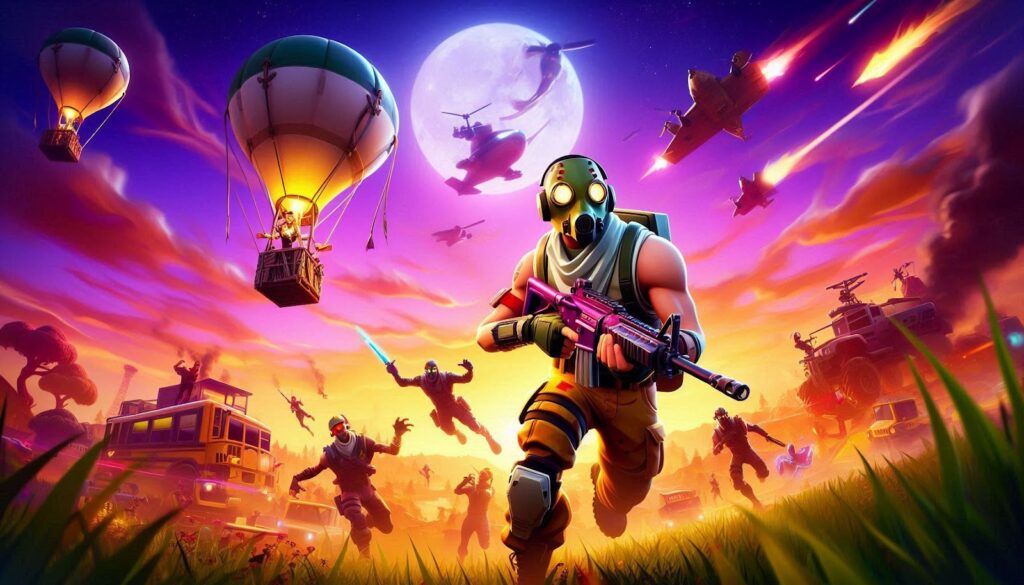
Top 5 Loadouts for Every Playstyle in Fortnite
Your loadout can mean the difference between a Victory Royale and an early exit back to the lobby in Fortnite’s ever-changing landscape. Finding the ideal combination of weapons with your preferred playstyle is challenging because the meta and seasonal weapon rotations are in constant flux. I will present in detail the best loadouts for various approaches to the game so you can optimize your performance no matter how you like to play.
Feel free to browse our Fortnite account selection — there’s something for every player.
Understand Fortnite Playstyles
We will talk more about Fortnite loadouts in a later section, but first it is important to note the range of playstyles Fortnite has to offer, along with their pros and cons:
- Aggressive: Players prefer to pursue fights and get as many eliminations as they can.
- Defensive: Builders who excel at protection and strategic positioning
- Tactical: Methodical players who plan and use the environment to their advantage
- Support: Team-focused players who prioritize utility and team resources
- Sniper: Long-range specialists who prefer keeping distance from enemies
Let’s explore the optimal loadouts for each of these approaches to battle royale dominance.
The Aggressive Player’s Arsenal
Aggressive players live for high-elimination games and the thrill of the push. If you’re constantly seeking out fights rather than waiting for the storm to force encounters, these loadouts will maximize your combat potential.
Loadout 1: The Close-Quarter Dominator
- Pump Shotgun (Epic or Legendary) – The backbone of any aggressive player’s arsenal.
- SMG (Preferably P90) – For follow-up pressure after shotgun hits
- Assault Rifle (Preferably SCAR) – For mid-range engagements while pushing
- Shockwave Grenades – For aggressive positioning and height advantage
- Shield Potions (Minis) – Quick healing between multiple engagements
This loadout focuses on maximizing damage output in fast-paced combat scenarios. The pump shotgun delivers massive burst damage, while the SMG provides essential follow-up pressure when targets survive the initial blast. Shockwave grenades offer both offensive mobility to close gaps and escape potential when third parties arrive.
Loadout 2: The Box Fighter
- Tactical Shotgun (Epic or Legendary) – Faster fire rate for box fighting
- Combat Assault Rifle – Breaks builds and applies pressure
- Combat SMG – Devastating in box fights with its high DPS
- Firefly Jars – Forces opponents out of boxes
- Shield Keg – Area healing for sustained aggression
Box fighting remains one of the most common engagement types in Fortnite. This loadout specializes in dominating these close-range, build-heavy encounters. The tactical shotgun’s faster fire rate suits the rapid peaks and edits of box fighting, while firefly jars force defensive players to abandon their boxes.
Loadout 3: The Third-Party Specialist
- Drum Shotgun – Spray potential for chaotic multi-team fights
- Stinger SMG – High DPS with a good range
- Striker Burst Rifle – Precision damage during third-party opportunities
- Spider-Man’s Web-Shooters – Ultimate mobility for finding and joining fights
- Med Mist – Quick healing while on the move
This loadout excels at moving quickly between engagements and capitalizing on fights already in progress. Mobility items are crucial here, allowing you to arrive at the perfect moment when opponents are weakened and distracted. The balanced weapon selection provides versatility across various ranges during the unpredictable scenarios of third-partying.
The Defensive Player’s Setup
For players who prioritize survival and strategic positioning over elimination hunting, these loadouts enhance your ability to control engagement terms and protect yourself.
Loadout 1: The Fortress Builder
- Striker Pump Shotgun – High damage for punishing pushes
- Heavy Assault Rifle – Accuracy for holding angles
- Armored Walls – Reinforcement for critical builds
- Chug Splash – Quick team healing during pressure
- Pizza Party – Sustained healing during extended defensive scenarios
This defensive loadout focuses on maintaining control of your position while maximizing sustainability. Armored walls transform ordinary builds into nearly impenetrable defenses, buying precious time during intense pressure. The healing options support longer engagements without needing to abandon your position.
Loadout 2: The Height Holder
- Storm Scout Sniper Rifle – Long-range threat and storm intel
- Combat Shotgun – Extended range for height defense
- Grenades – Area denial for the base of your builds
- Grappler – Emergency mobility
- Shield Potions (Big) – Maximum shield restoration
Maintaining high ground offers tremendous advantages in Fortnite. This loadout emphasizes ranged threat capability while providing tools to maintain elevation advantage. The Storm Scout provides both elimination potential and crucial rotational information, while grenades discourage pushes from below.
The Tactical Player’s Toolkit
Tactical players prefer methodical approaches, using game sense and strategic item usage rather than pure mechanical skill to secure victories.
Loadout 1: The Information Specialist
- Striker Burst Rifle – Precision mid-range damage
- Auto Shotgun – Forgiving in close-range scenarios
- Flare Gun – Enemy detection and structure damage
- Shadow Bombs – Stealth positioning
- Shield Mushrooms – Healing that doesn’t give away position through sound
Information wins games in Fortnite. This loadout prioritizes gathering intelligence on enemy positions while maintaining stealth. The flare gun reveals opponents in a wide radius, while shadow bombs allow for undetected repositioning when necessary.
Loadout 2: The Zone Controller
- Striker Pump Shotgun – Single-shot power
- Heavy Sniper Rifle – Structure destruction and threat range
- Fireflies – Area denial
- Impulse Grenades – Position control
- Shield Keg – Team sustainability
This loadout excels at controlling critical zones, particularly in final circles. The heavy sniper provides both elimination potential and the ability to destroy key structures instantly. Combined with area denial tools, this setup allows you to dictate where enemies can safely move within your controlled territory.
The Support Player’s Essentials

Team players who prioritize the squad’s success over individual glory will find these loadouts enhance their ability to support teammates effectively.
Loadout 1: The Medic
- Combat SMG – Reliable damage without requiring specialized skill
- Med-Mist – Continuous healing for teammates
- Chug Splash – Area team healing
- Shield Keg – Sustained shield regeneration
- Rift-to-Go – Team rotation tool
The ultimate support loadout focuses on maximizing team sustainability through diverse healing options while maintaining rotation capabilities. Med-Mist allows precise healing of specific teammates, while Chug Splash provides efficient healing during intense combat. The Rift-to-Go serves as both an engagement and disengagement tool for the entire squad.
Loadout 2: The Resource Manager
- Ranger Assault Rifle – Reliable mid-range option
- Pump Shotgun – Standard close-range capability
- Tent – Item storage and team rest site
- Pizza Party – Team healing and shield
- Armored Walls – Team defense enhancement
This support variation focuses on resource management and fortification. The tent allows storage of valuable items for teammates, while consumables provide sustainable healing options during downtime between engagements. Armored walls give your team significant defensive advantages during held positions.
The Sniper’s Selection
Long-range specialists who prefer keeping distance between themselves and enemies will thrive with these loadout configurations.
Loadout 1: The Traditional Sniper
- Heavy Sniper Rifle – Maximum damage at range
- Striker Burst Rifle – Follow-up damage after sniper hits
- Combat Shotgun – Self-defense for close encounters
- Shadow Bombs – Repositioning without detection
- Shield Potions (Big) – Full shield restoration between engagements
The classic sniper setup maximizes damage at a distance while providing essential self-defense options. The heavy sniper’s one-shot potential pairs perfectly with the burst rifle’s ability to capitalize on shields cracked at range. Shadow bombs provide crucial repositioning ability when your position is compromised.
Loadout 2: The Hybrid Sniper
- Hunter Bolt-Action Sniper – Faster fire rate for multiple targets
- Hammer Assault Rifle – Reliable at multiple ranges
- Stinger SMG – Close-range defense
- Shockwave Bow – Mobility and offensive utility
- Chug Cannon – Sustained healing from distance
This modern sniper approach offers more flexibility across engagement ranges. The hunter bolt-action sacrifices some damage for improved fire rate, while the shockwave bow provides both mobility and offensive capabilities to maintain distance from aggressive pushers.
Adapting Loadouts to Current Seasons
Fortnite’s constantly evolving weapon pool means the “perfect loadout” changes with each season. As of early 2025, certain items like the Shockwave Hammer and Anvil Rocket Launcher have shifted the meta substantially. When adopting these template loadouts to current seasons:
- Identify the current mobility meta – Replace mobility items with the season’s dominant option
- Recognize weapon adjustments – Pay attention to recent buffs/nerfs that might change weapon viability
- Account for environmental factors – Some seasons feature terrain or elements that favor certain playstyles
- Consider mythic variations – Replace standard weapons with mythic versions when available
Conclusion
The beauty of Fortnite lies in its ability to accommodate vastly different playstyles while maintaining a competitive balance. There’s no definitively best loadout, only loadouts that best enhance your approach to the game. Experiment with these templates, adjust based on current seasonal offerings, and, most importantly, practice with your preferred combinations to maximize their effectiveness.
Remember that flexibility remains crucial; the most successful players adapt their loadouts based on available loot, circle positioning, and team needs. Use these loadout templates as starting points rather than rigid requirements, and you’ll find yourself better equipped for whatever challenges the Island throws your way.